
Olá!
Cristina here again with a new recipe for our favorite oven: the 3D printer.
This is a very special kind of oven — it doesn’t bake bolachas, it bakes objects.
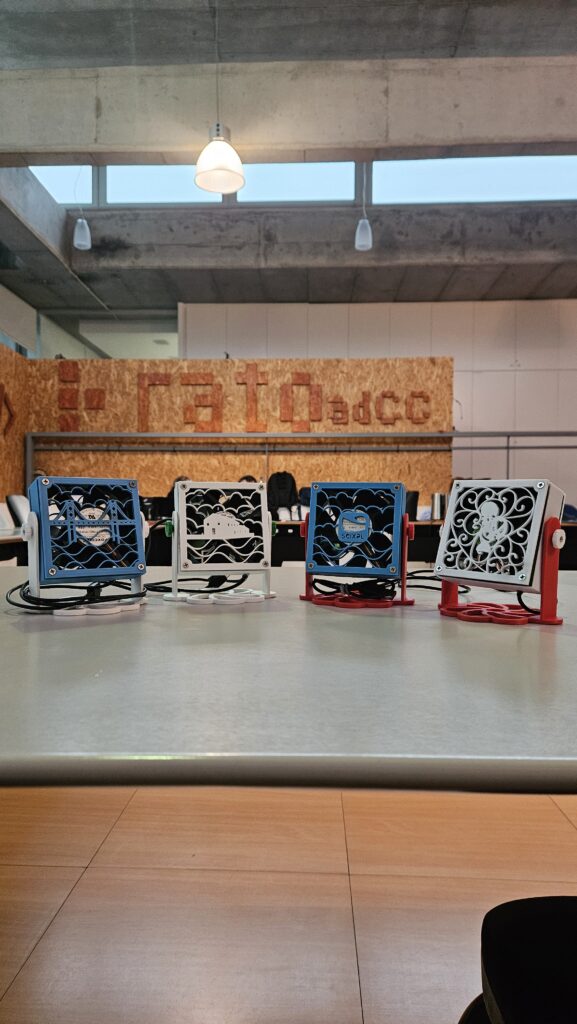
Just like a cooking recipe, I’m going to explain step by step how the Ventoinhas de Rato are created.
*I’m gonna divide the steps into several blog entries because the process is quite long.
– Equipment
For this recipe, we will need:
-
Google Images, Pinterest, and imagination
(The first step is always gathering references and inspiration.) -
2D design software
(In my case, Adobe Illustrator.) -
3D modeling software
(I use Autodesk Fusion.) -
A 3D printer
-
PLA filament in different colors
-
A paintbrush
-
A soldering iron
-
A hot glue gun
– Ingredients
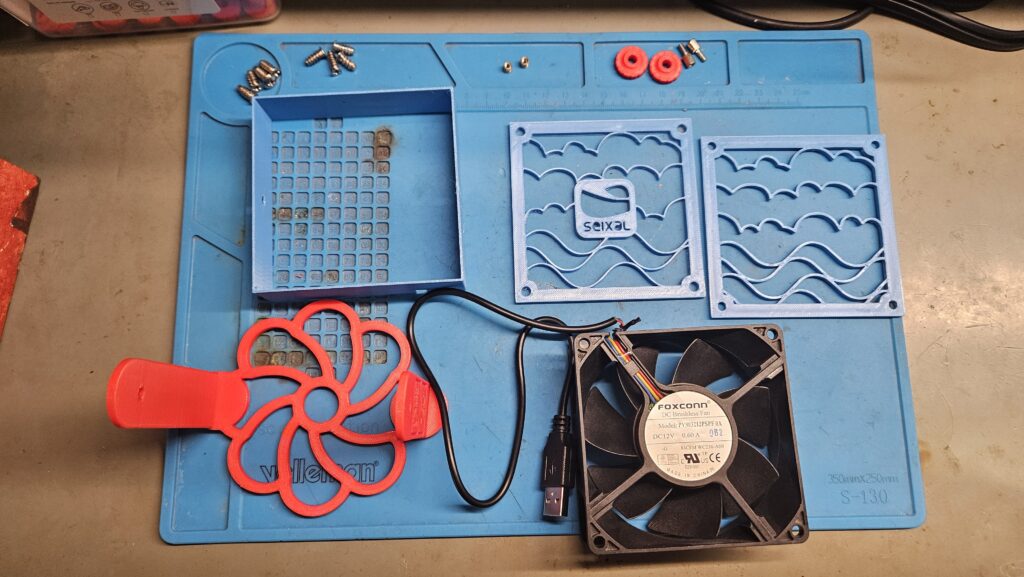
3D Printed Parts
Front Panel
(The square piece with the front design)
Back Panel
(The square piece with the back design)
Fan Housing
(The outer structure arround the fan)
Base
(The part that rests on the table)
Electronic and Hardware Components
-
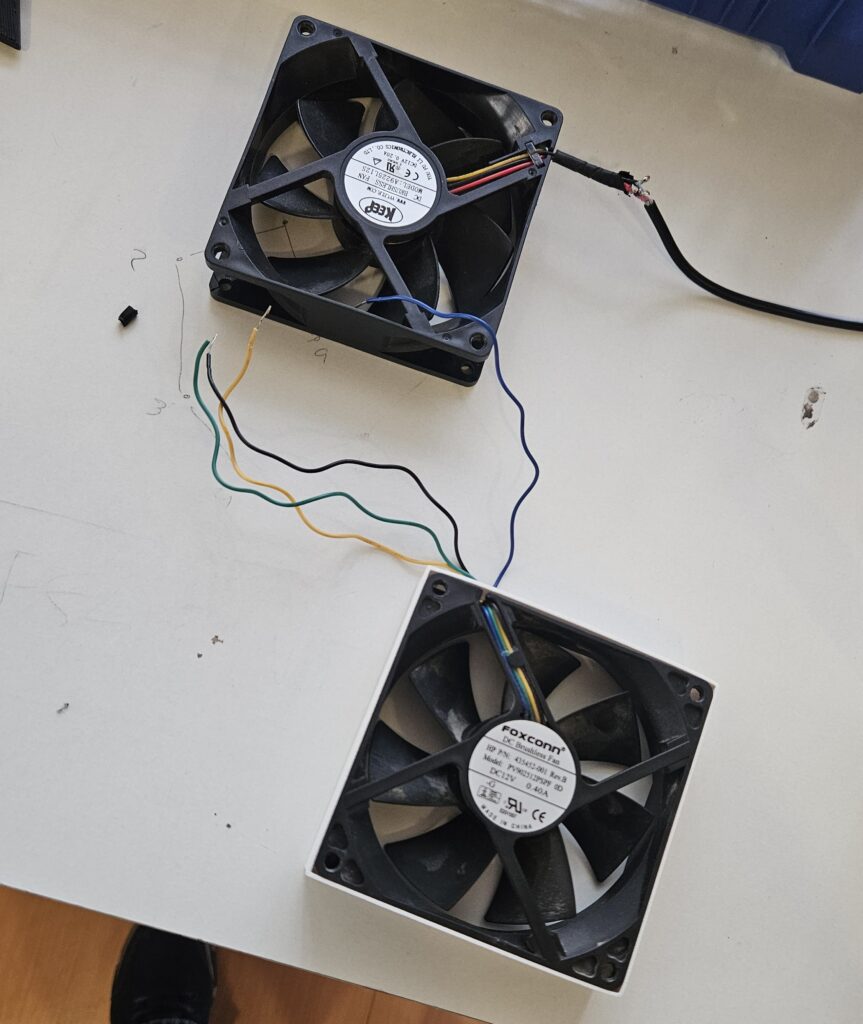
Old computer ventoinhas (upcycled)
-
A USB cable (upcycled)
-
Heat-shrink tubing ×2
- Threaded inserts ×2
-
Knurled screws ×2
-
Metal washers ×2
And that’s everything we need before turning on our 3D oven.
In the next blog entry, I’ll start with the first step of the process: the 2D design. This is where the idea begins to take shape before becoming something you can actually hold in your hands.

